Create a First Schedule in 10 Minutes
Goal: You create a schedule with linked tasks, a calculated project finish date, and a visible critical path.
Prerequisites: Rillsoft Project is started.
Step 1: Create a New Project
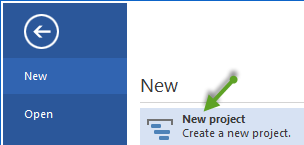
Select File > New > New Project.

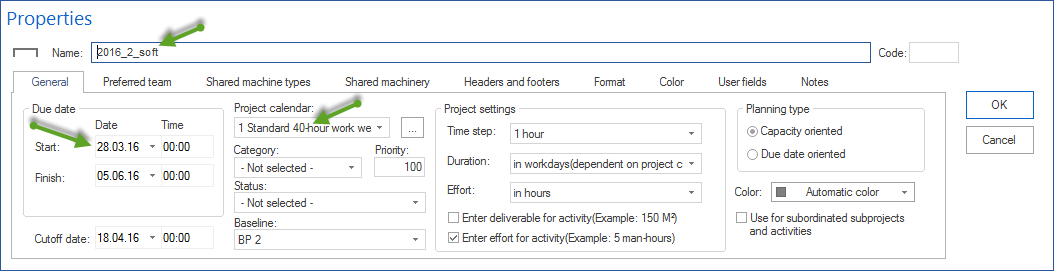
Select Start > Property > Project.
Enter a project name, set start and finish date, and select the project calendar.
Click OK.
Step 2: Add Tasks
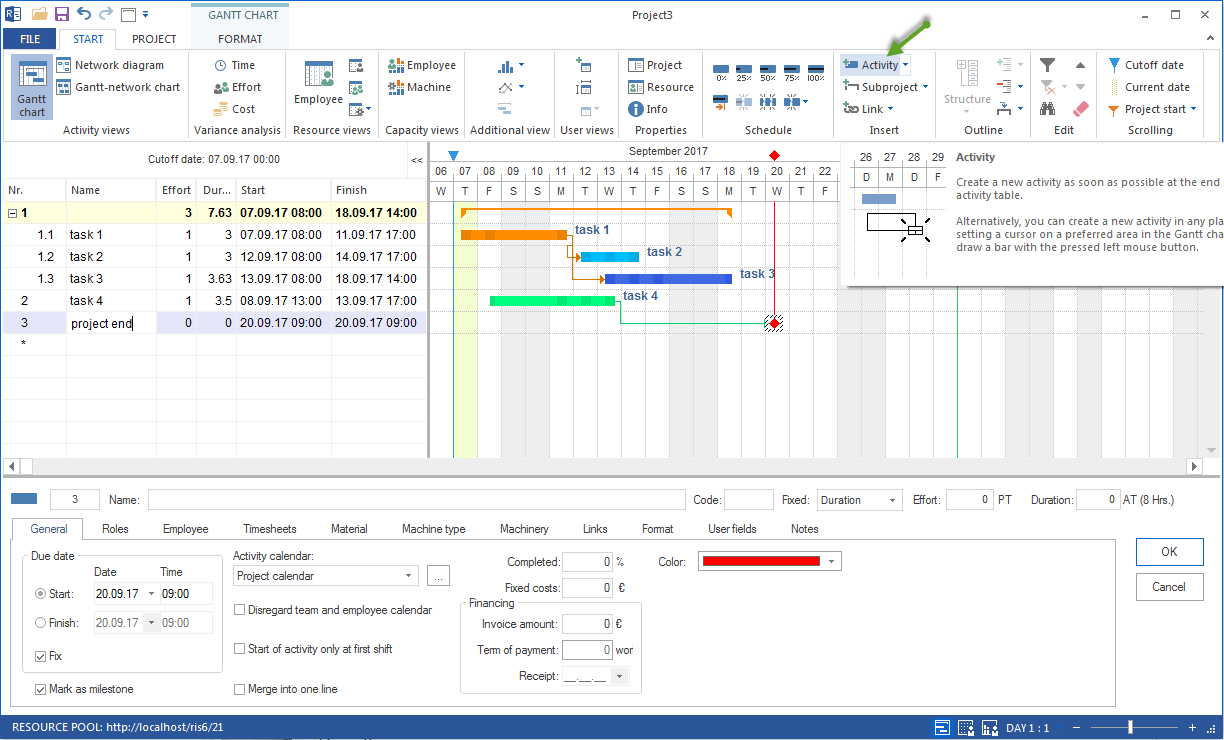
Select Start > Activity. A new row appears in the task table.
Double-click a task and enter its the task name and press Enter.
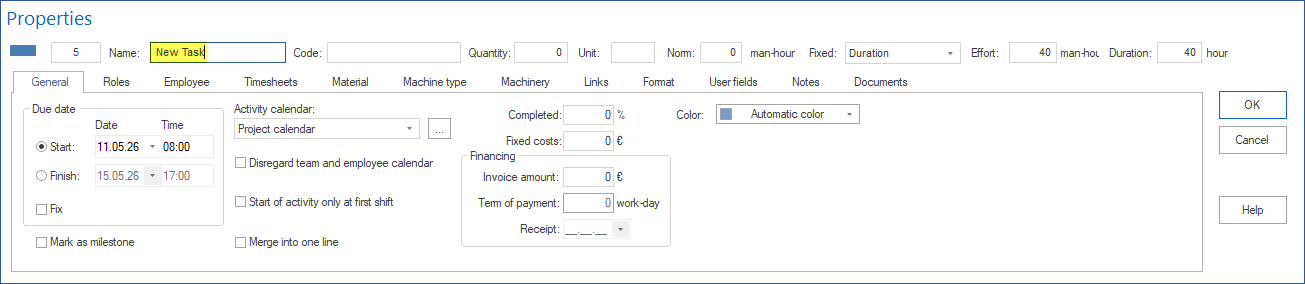
Repeat this for all tasks. For a first schedule, 5 to 10 tasks are enough.
Double-click a task and enter its duration on the General tab.
Tip
You can also enter the duration directly in the Duration column if the column is visible.
Step 3: Link Tasks
Make sure the Gantt chart view is active.
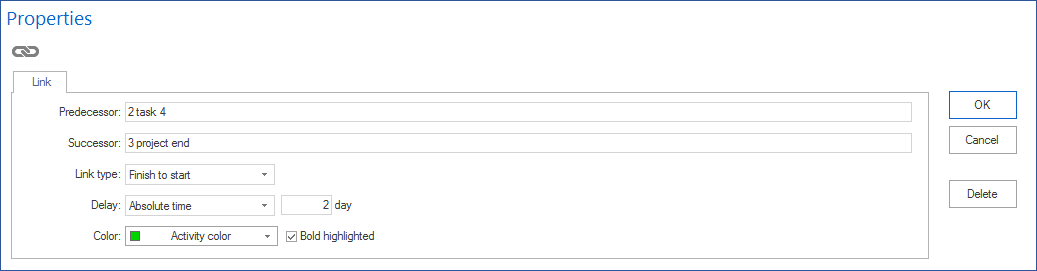
Use Start > Insert > Link to choose the link type. For a first schedule, use Finish-Start.
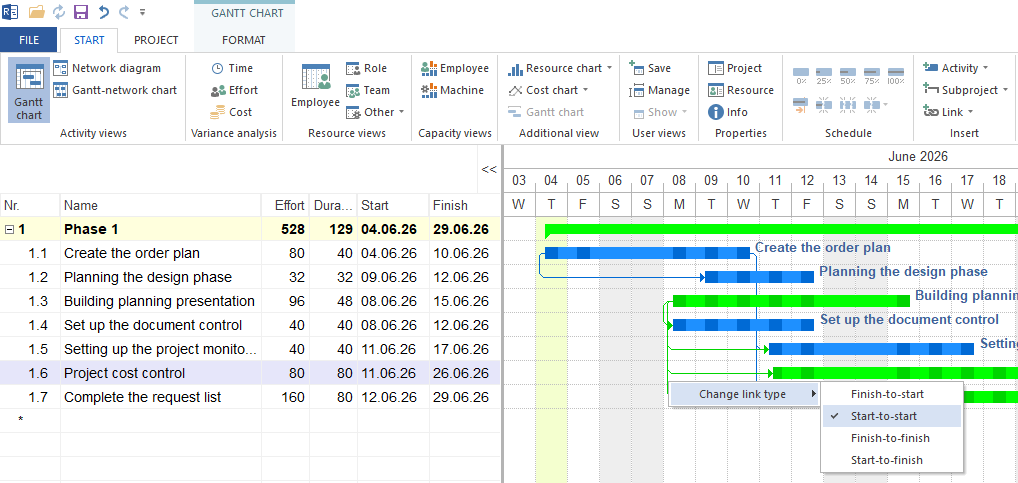
Drag from the end of the first task bar to the beginning of the next task.
Link all tasks in their logical order.
Step 4: Check the Result
Check the calculated project finish date in the Gantt chart.
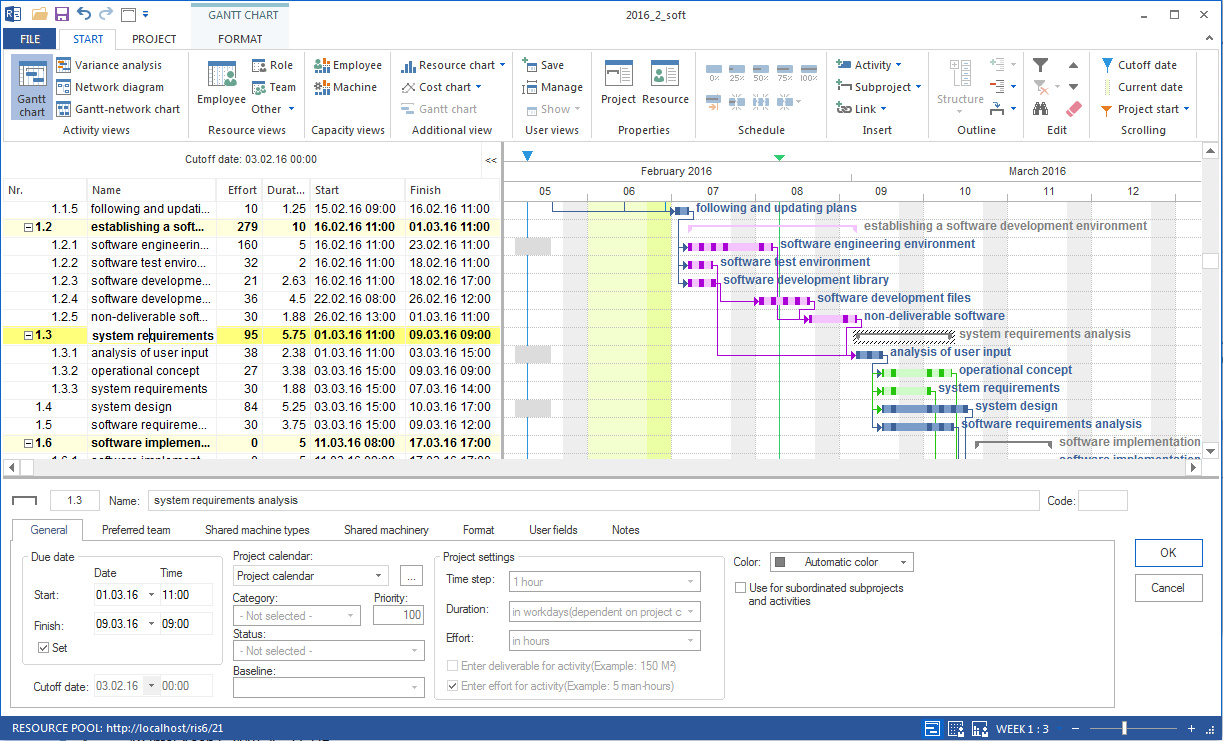
Tasks on the critical path are highlighted. A delay in these tasks moves the project finish date.
Open Start > Property > Info > Late activities and check whether there are late activities.
Save the project with Ctrl + S.
Result
You have a complete first schedule with calculated dates, dependencies, and a critical path.
Related Topics
create schedule, gantt chart, add tasks, link tasks, critical path, schedule, gantt, bar chart, timeline, dependency, project manager