First Steps with Rillsoft Project
This section is for new users who open Rillsoft Project for the first time. It walks you through the basic workflow: create a project, check the calendar, add tasks, link them, add resources, assign resources, and save your work.
Create Your First Project
Goal: A new empty project is ready for planning.
Start Rillsoft Project.
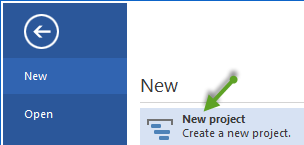
Select File > New > New Project. The Gantt chart opens with an empty project.
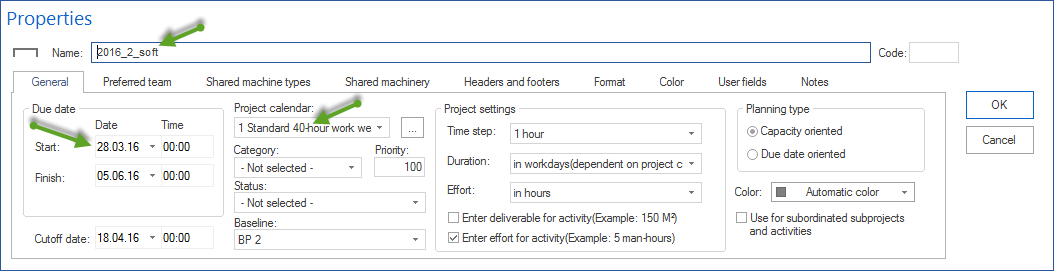
Select Start > Property > Project. The Project properties dialog opens.
Enter a meaningful project name in Name.
On the General tab, set the Start date and Finish date.
Select the appropriate Project calendar.
Click OK.

Result: The project is created and ready for planning.
Note
To base the project on an existing template, use File > New > New Project from File Template instead.
Check the Project Calendar and Working Days
Goal: The project calendar reflects the real working days and working time.
Rillsoft Project calculates task durations and resource utilization from the stored calendars. An incorrect calendar leads to unrealistic dates and capacity values.
Open the resource pool via Start > Property > Resources.
Go to the Calendar tab.
Check working days, working hours per day, public holidays, and non-working days.
Adjust the calendar where needed.
Create a project-specific calendar if this project uses different working time.
Result: The calendar matches the real working conditions for your team.
Add and Structure Tasks
Goal: The work units of the project are entered as tasks and structured in the Gantt chart.
To insert a task at the end of the list:
Select Start > Activity. A new row appears in the task table.
Enter the task name in the new row.
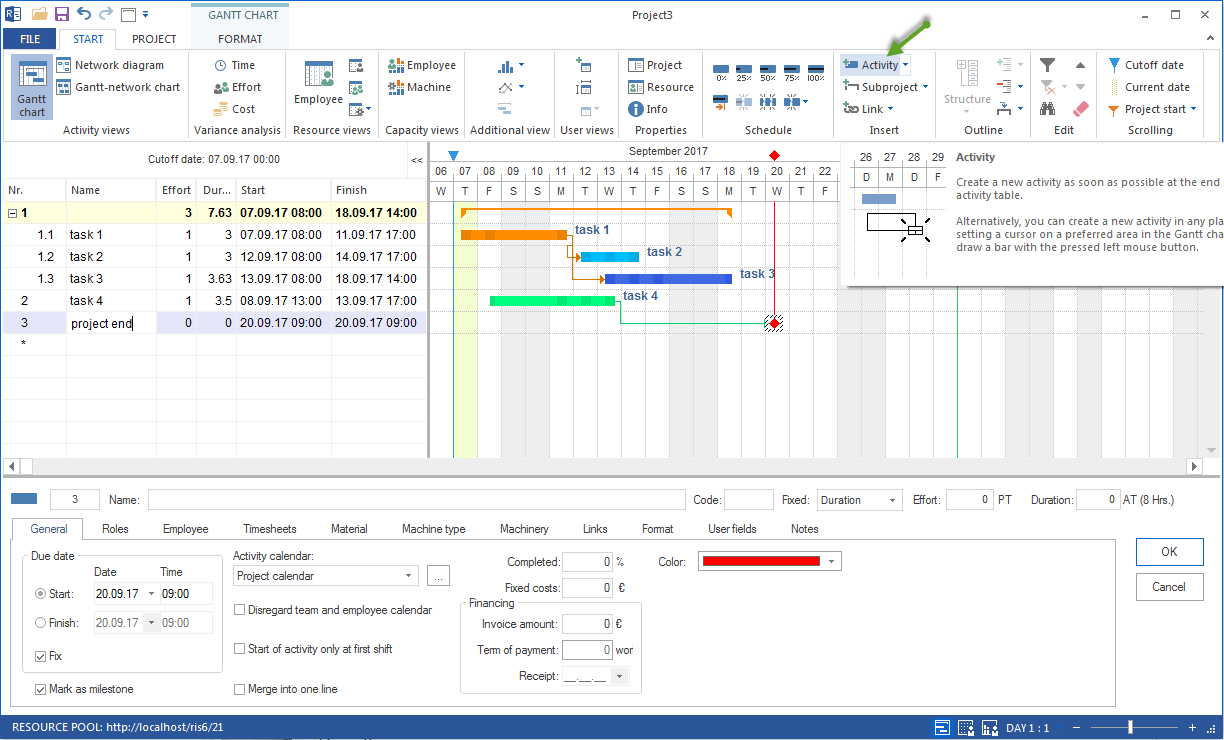
You can also draw a task with the mouse in the Gantt area or add a task from the context menu with New activity.
For larger projects, structure tasks with subprojects:
Create the tasks on the top level first.
Select the tasks that should form a subproject.
Use Start > Insert > Subproject. The selected activities are combined into a new subproject; their start and finish dates are taken as the start and finish of the subproject.
Enter a name for the subproject.
Result: The project structure is readable and ready for scheduling.
Note
Start > Insert > Subproject creates a new subproject from the selected activities. To move activities into an existing subproject instead, use Start > Outline > Move to Subproject.
Note
Do not confuse subprojects with master projects. Subprojects structure tasks inside one project. A master project combines several independent project files.
Link Tasks
Goal: Rillsoft Project calculates the schedule from dependencies between tasks.
Without links, tasks can be planned in parallel from the project start. Links create a realistic sequence and make the critical path visible.
In the Gantt chart, click the task that must finish first.
Drag from the end of this bar to the beginning of the dependent task.
Rillsoft Project creates a Finish-Start link.
To change the link type:
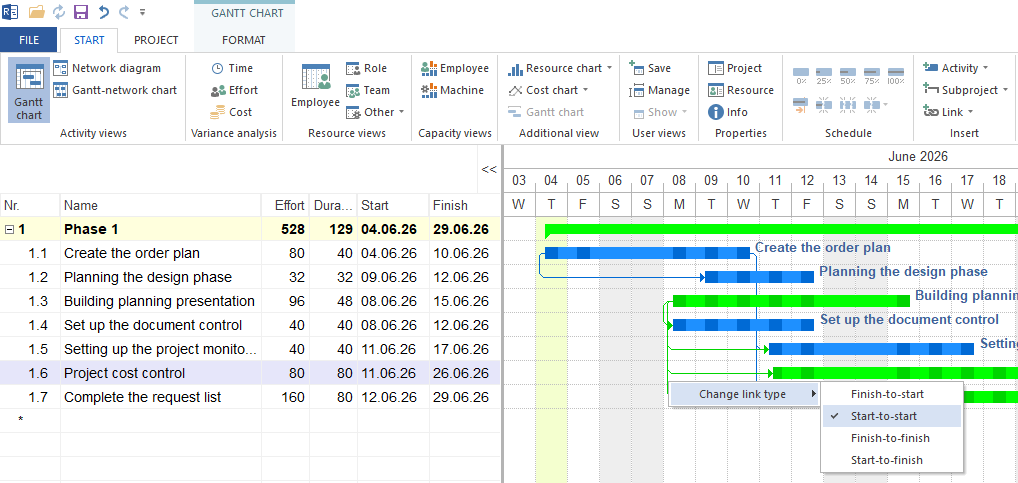
Double-click the link line between two tasks.
In Link type, choose one of the available types:
Finish-Start: the successor starts after the predecessor is finished.
Start-Start: the successor cannot start before the predecessor starts.
Finish-Finish: the successor cannot finish before the predecessor is finished.
Start-Finish: the successor cannot finish before the predecessor starts.
Enter a delay if needed.
Click OK.
Result: The schedule is calculated. Tasks on the critical path are highlighted in the standard view.
Create or Reuse Resources
Goal: Employees, roles, calendars, and optionally machines or material are available in the resource pool.
Rillsoft Project distinguishes between resource demand and resource supply. Demand describes which roles or qualifications a project needs. Supply describes which employees with matching qualifications and availability exist.
Open the resource pool:
Select Start > Property > Resources.
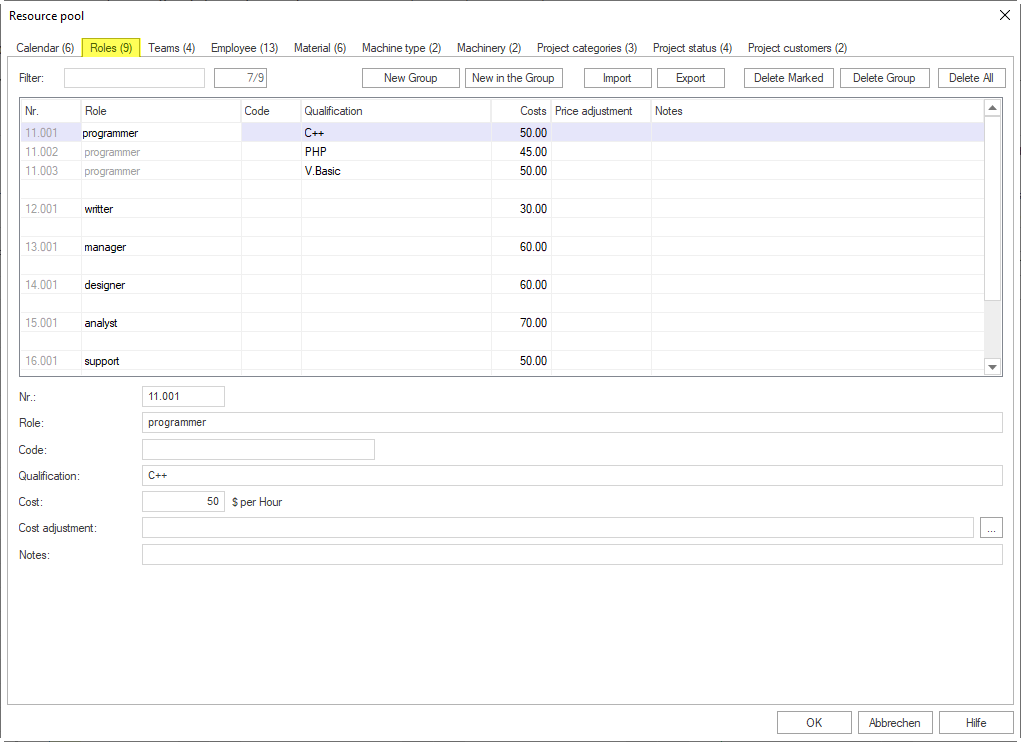
Create a role or qualification:
Go to the Roles tab.
Enter a role name in the row marked with an asterisk, for example “Engineer” or “Project Manager”.
Add cost rates or further data where needed.
Click OK.
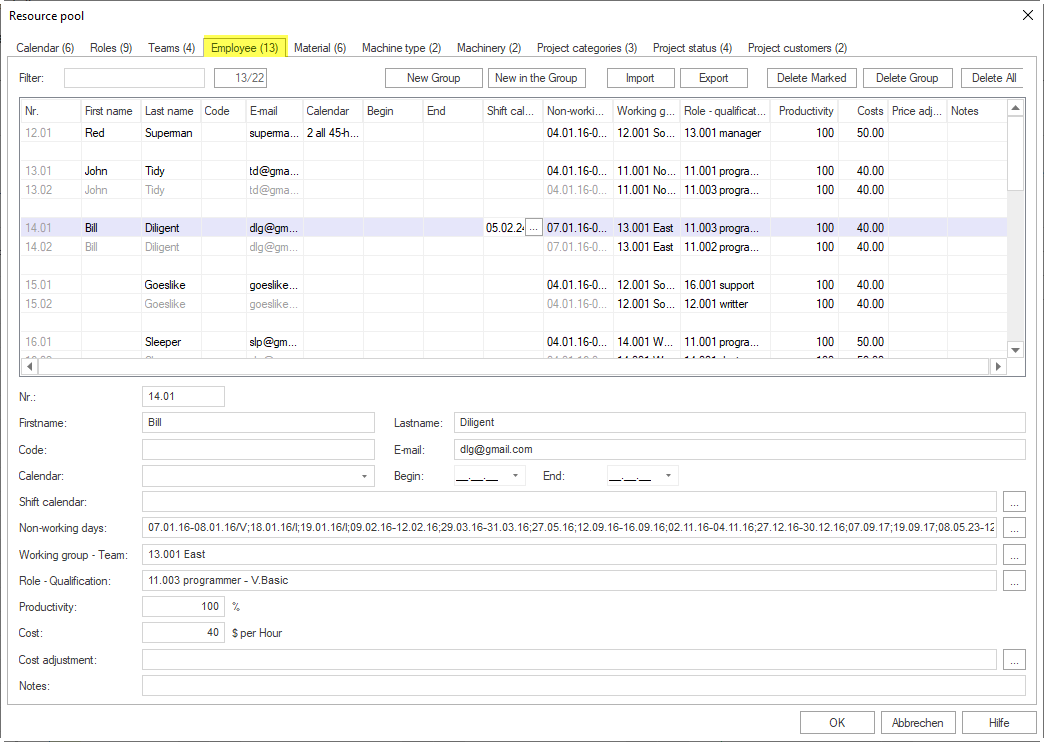
Create an employee:
Go to the Employees tab.
Enter first name and last name in the row marked with an asterisk.
Select the calendar and maintain working time data.
Assign the employee’s roles or qualifications.
Click OK.
To reuse an existing resource pool, close all projects and select File > Resource pool > File > Select. Then select the resource pool file.
Assign Resources
Goal: Tasks have the required roles or concrete employees assigned, so Rillsoft Project can calculate utilization and capacity.
Recommended for new users:
Assign roles or qualifications to tasks first.
Use capacity balancing to check whether available employees cover the demand.
Assign concrete employees after this check.
For a small project with a stable team, direct employee assignment can be enough.
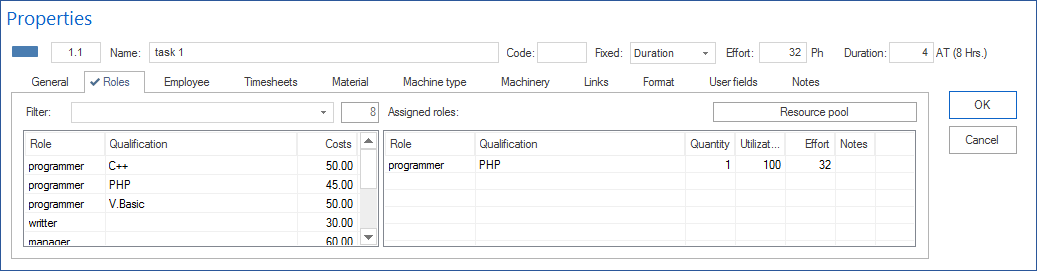
Assign a role to a task:
Double-click a task to open Activity properties.
Go to the Roles tab.
Double-click an entry in the left table to assign the role to the task.
Adjust Quantity, Utilization, Effort, and Notes as needed.
Click OK.
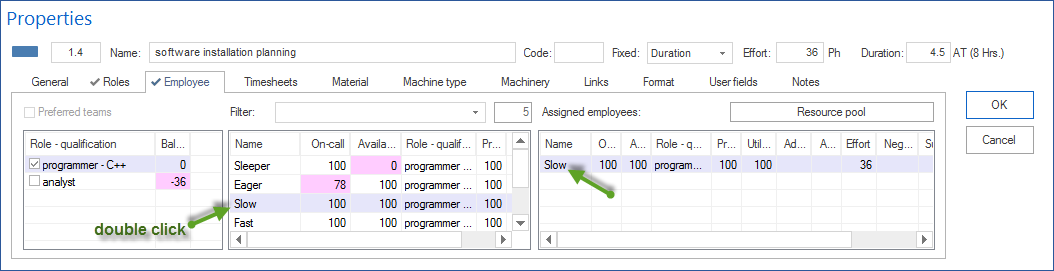
Assign an employee directly:
Double-click a task.
Go to the Employees tab.
Double-click an entry in the middle table to assign the employee to the task.
Adjust Utilization and Effort as needed.
Click OK.
Save and Reopen the Project
Goal: Your work is saved and can be continued later.
Select File > Save or press Ctrl + S.
When saving for the first time, choose a location and file name.
To reopen the project later, select File > Open > File > Project and choose the project file.
If your company uses Rillsoft Integration Server or Rillsoft Cloud, projects are stored centrally instead of as local files. In that case, save with File > Save as > Rillsoft Integration Server > Project and ask your administrator for the required login data.
Next Steps
first steps, create project, add tasks, link tasks, save project, schedule, gantt, bar chart, timeline, critical path, dependency, project manager